
Demonstration Contest- A Bayfield County Pre-Fair Event
Saturday April 18, 2026
Northern Great Lakes Visitor Center
Register by: April 9, 2026
Open to youth in grades K-13. participants must be enrolled in a Bayfield County Fair recognized youth organization. Children grades K-2 will receive a ribbon but will not receive premiums.
Entries: 1 entry per person .
You will also need to complete a registration form at the Bayfield County Fair website! for this Pre-Fair Event.
Premiums: See The Bayfield County Fair Premium List for $ amount awarded for placing (1st-4th) in each lot/age category.
Suggested length of demonstration (minutes):
Grades K-2: 1-15 minutes
Grades 3-5: 3-15 minutes
Grades 6-8: 5-15 minutes
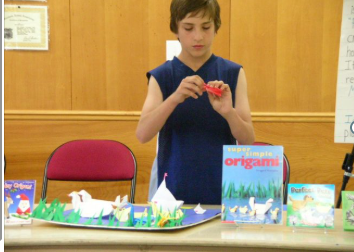
What is a Demonstration?
Have you ever shown someone how to take a picture, groom a horse, peel a carrot or weed a garden? If so, you’ve given a demonstration, because a demonstration is simply showing and telling how to do something. It’s words in action.
Demonstrations aren’t difficult; you just tell how to do something by using action words such as cut, fold, stir, mix or saw. For example, say, “Fold the paper into halves,” as you actually fold the paper. Explain why you are doing the step. Review the steps and answer questions about the steps.
Why give demonstrations?
A demonstration helps others learn how to do something useful, perhaps in an easier or more practical way. Demonstrating is one of the best methods of teaching others, because it involves visual and verbal presentations at the same time.
Demonstrations help 4-H members:
Acquire subject matter knowledge.
Develop self-confidence
Express their ideas clearly
Spontaneously respond to questions
Parts of a demonstration: A demonstration has four parts:
Introduction — what the member is demonstrating
Body — the steps of the skill and how to do them.
Summary — review of the steps.
Questions and answers — the members answer questions the audience may have.
Select a topic: Members should consider the following as they select a demonstration topic.
- Is it part of my project work?
- Can I demonstrate the topic in about five minutes?
- Does the topic have enough action?
- Is the topic appropriate for my age and experience?
- Is the topic worthwhile, useful and practical?
- Am I demonstrating approved practices, proven by research
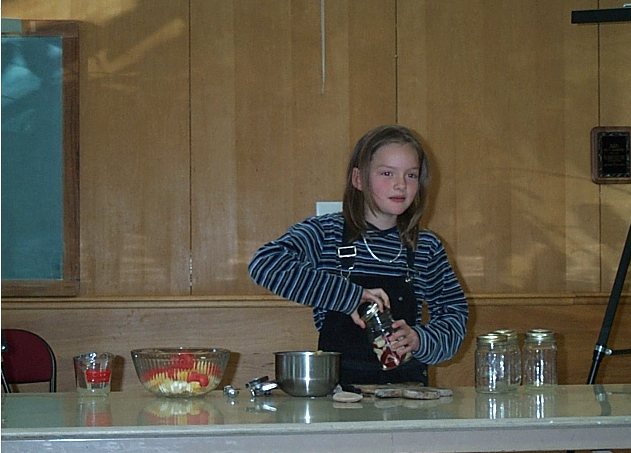
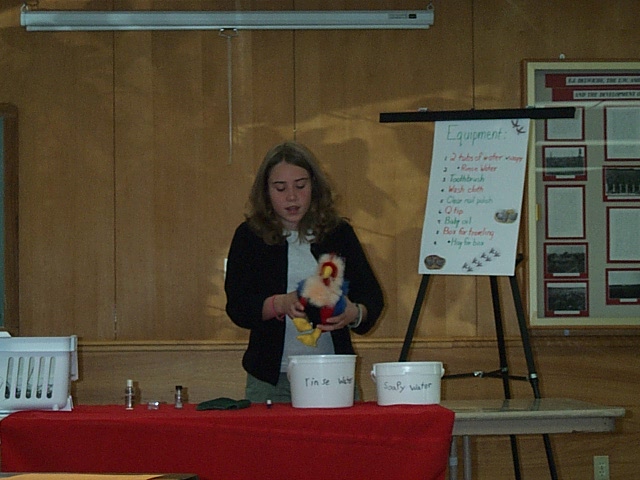
Collect needed materials and equipment:

- Make a list of the equipment and materials needed to give the demonstration.
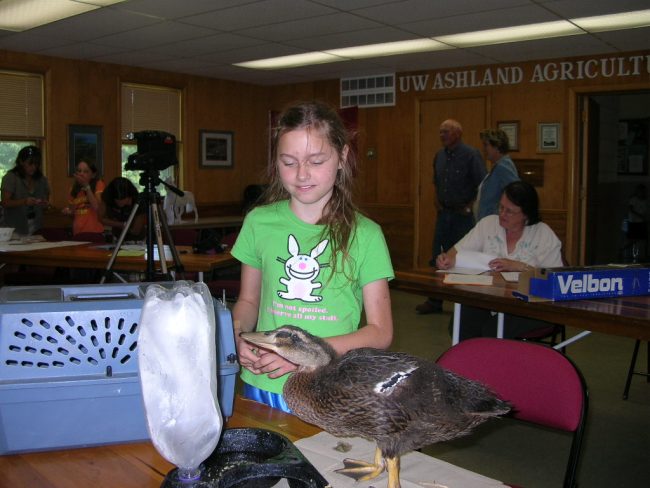
- Remember, the audience needs to see what is being done.
- Using transparent equipment and keeping the work area visible to the audience are two ways to help.
- Arranging equipment on a tray to carry it to the demonstration area also helps.
Develop the demonstration outline:
- Develop steps by actually going through the demonstration and writing down each step. Define the key points to emphasize and write them down.
- Build in the explanations. For each step, tell what is being done, how it is being done and why.
- Show the results. If you cannot complete a whole job in the short time, prepare a sample ahead of time. For example, have some cookies baked or a finished bootjack. Invite the audience to look over or sample the finished product.
- Tell where you got the information.
Summary
- Review the main points.
- Clear the work area except for the finished product.
- Display the product attractively.
- Offer it to the audience for close inspection.
Questions
- Ask, “Are there any questions?”
- When a question is asked, repeat it. You may say, “John asked …” Or just repeat the question.
- Then, answer if possible.
- If you don’t know the answer, say so or tell the audience you will try to get the information for them or refer them to sources of information.
- When the questions are answered, add a courteous ending.
Introduction and Title
- Plan the introduction and the title last.
- The introduction gives the reason for this practice or method.
- Include the subject in the introduction and give reasons for presenting the demonstration.
- This is a chance to sell the topic to the audience.
- Making the introduction interesting and catchy helps the audience listen attentively to the rest of the demonstration.
- The title should identify the subject and add a “hook” to create interest and curiosity about the subject.
Suggestions and Tips
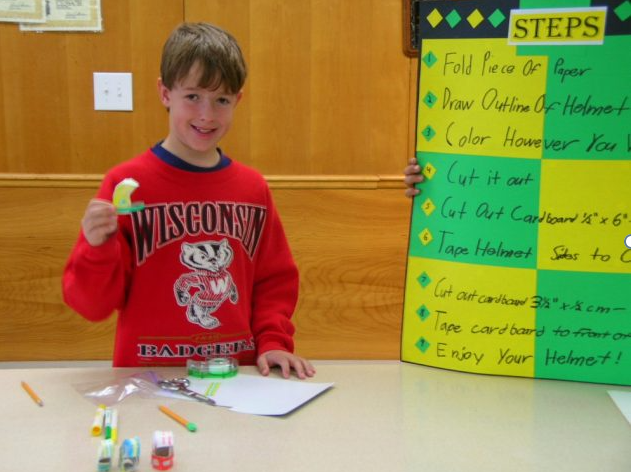
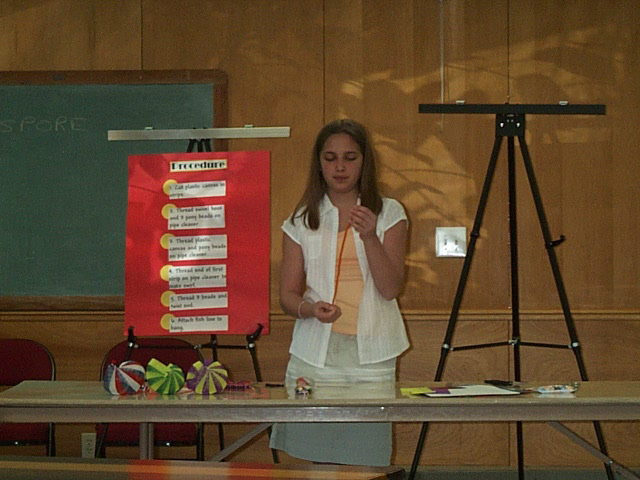
- Posters can be a help
- Use a poster to emphasize the main points.
- The poster should be planned after the demonstration is outlined and practiced.
- Make sure the letters are big enough and clear enough that they can be read from the back of the room.
- Practice is important
- It can help work out the easiest way to arrange the materials.
- Do things in order, explain every action, know the subject, have all the equipment needed and give reliable information.
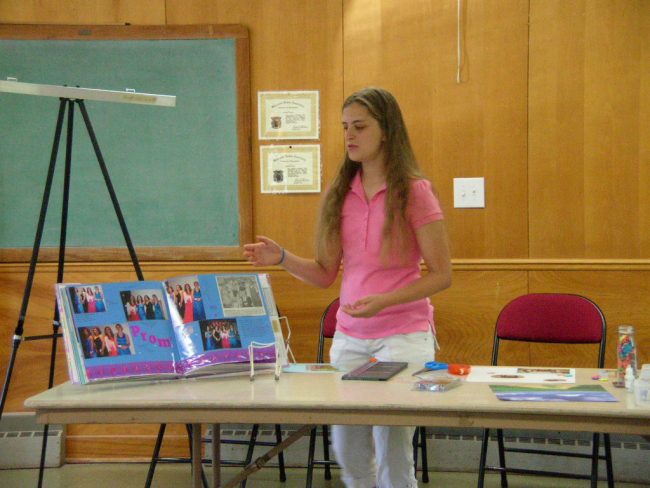
- Appearance
- Encourage members to wear clothes that are suitable for what they are demonstrating.
- Being neat and clean is appropriate too!
- Members who stand tall will be able to make their voice be heard easier.
- Voice
- A clear, pleasant voice makes it easier for the audience to hear and understand.
- Speaking slowly and clearly is often hard for 4-H’ers to do.
- Practice can improve this.
- Members should try to talk to the audience, not at the table as they work.
- A way to help members to remember this is to tell them to “keep your chin up so that your voice will carry.”
- Being at ease
- Help members relax and be at ease.
- Encourage them to smile at the audience before beginning this is one way to set the tone.
- Helpful information and Tips (PDF, 1 pg)